Quick guide that shows the fastest, most reliable ways to identify a picture, trace its origin, and learn what it contains.
Visual results can include AI overviews, web links, similar galleries, and pages that host the same or related visuals. You can begin on desktop at Google.com or right on a web page in Chrome using Lens.
Key workflows are simple: upload a file, drag and drop, paste a URL, or right‑click and pick Search with Google Lens. These steps help find products, landmarks, art, plants, and original sources or higher‑res files.
Searches can be refined with on‑screen selection boxes, extra keywords, or the “Ask about this image” prompt. Privacy basics and troubleshooting tips are noted for cases when results miss the mark.
Key Takeaways
- Use upload, drag-and-drop, URL paste, or right‑click Lens for best coverage.
- Results include AI summaries, similar visuals, and web pages that host the visual.
- Refine queries with crops, selection boxes, or added keywords for sharper matches.
- Common uses: identify products, places, plants, art, or find original sources.
- Privacy note: pasted URLs aren’t kept in your browser history but may be used to improve services.
Understand when and why to use Google’s image search today
When words fail, a visual query can identify objects, places, and text inside a picture. Visual search analyzes pixels and returns direct information about what’s visible, rather than relying on guessed keywords.
What visual search can return
AI Overviews summarize scenes and list detected items. Results often include standard web pages that host the same or related visuals and grids of similar images for quick comparison.
Visual search versus typed queries
- Visual search works best when you lack the right words: unknown products, plants, art, logos, or landmarks.
- Typed queries can be faster when you already know model names or specs; combine both by adding descriptive terms after an upload.
- Google Lens powers most modern visual experiences in Chrome and the Android app, and it can read or translate text inside photos.
Use a visual-first approach for ID and then refine results with keywords or site filters to find original sources, usage details on websites, or higher-resolution versions.
how to have google search an image on a computer
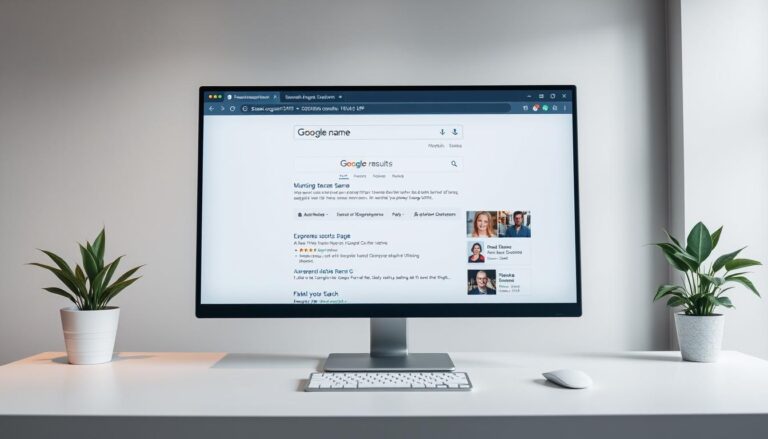
On a desktop computer, a few simple steps let you find matches, sources, and similar photos. Use the search bar camera icon at Google.com to open the panel and pick Upload a file. Choose a local file and watch the results populate with pages that use the same visual.

Drag and drop also works. Grab a photo from your desktop or folder and drop it into the Images box. The tool runs visual analysis and returns related pages and previews.
Paste a URL or use Chrome Lens
To avoid downloading, copy a picture address from a website, open the search panel, paste the link under “Paste image link,” then click Search. In Chrome, right‑click any picture and pick Search with Google Lens to open a sidebar with quick context and related results.
- Refine results by typing a short descriptor in “Add to your search.”
- Open results in new tabs to compare higher‑res files and sources.
- If a URL gives weak matches, upload the file for better quality signal.
Use Google Lens on Android for on‑the‑go image searches
Install the latest google app on your Android phone, then open the app or Chrome and tap the Lens camera in the search bar.
Open the app and tap the Lens camera
Launch the google app or the Chrome app and press the small camera icon. That opens a live view that runs quick analysis from your device.
Capture or pick from Screenshots and Photos
Snap a photo of the subject or choose an existing screenshot or picture from your gallery. The tool reads visible text, objects, and context and returns search results fast.
Adjust the selection box and refine
Drag the corners of the on‑screen selection box to focus on the exact area you want identified. Tap Ask about this image and add keywords like color or brand for tighter matches.
- Touch and hold images on websites in Chrome and pick the Lens option for results without copying links.
- Press and hold the shutter for voice queries (English only).
- Make Google the default search engine in Chrome so long‑press lookups from pages work reliably.
Search images directly from Google results
Open any result thumbnail to reveal a compact panel with context and matching visuals. On desktop, click a picture in the grid and scroll the right-hand panel to surface related images and source links. Click Close in the top right to return to the grid.

Tap or click an image result to explore related images
On mobile, tap a result and then the Lens icon to probe further. The Lens view lets you add a short descriptor in the search bar and refine results quickly.
- Open any result for a detail view with context and visually related options.
- Use the Lens button (mobile) or scroll the desktop panel to find similar photos and angles.
- Follow links under each visual to verify sources, licensing, and larger files.
- Try filters like “More sizes” or “Pages that include matching images” to expand coverage.
When matches are weak, narrow the area with the selection tool or add a couple of descriptive words to guide results and help you find related versions of the same photo.
Refine results to find similar images, sources, and more sizes
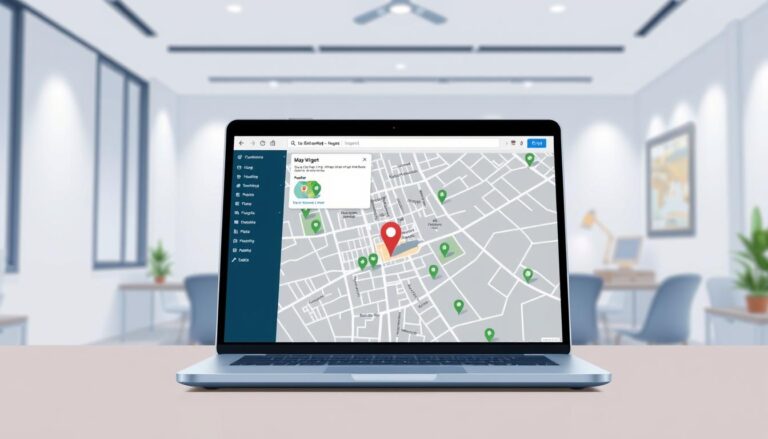
Pinpointing the part of a picture you care about speeds up finding exact matches and credible sources. Use the selection tool to limit what the system analyzes and reduce background noise.
Use selection boxes to focus on products, places, or text
Drag the corners of the selection box until the target fills the frame. Smaller, tighter areas often return more specific search results.
- Isolate details—product labels, logos, a section of a painting, or printed text you want identified or translated.
- Narrow the frame to cut background clutter; this increases match accuracy.
- Type a short phrase in “Add to your search” when many items look alike, such as brand or model.
Scan for related images and visually similar results
After adjusting the focus area, scroll through visually similar images and cross‑check angles, colors, and features. Look for “More sizes” or site links that point to high‑quality originals.
- Check result cards for authoritative sources—manufacturer pages, museums, or reputable retailers—before opening links.
- If you target printed words, switch to text mode where available to copy or translate the excerpt directly.
- Iterate quickly: tweak the box, change keywords, and try new angles until results converge on consistent matches.
Compatible browsers, devices, and the Google app
Most modern browsers and the official app offer quick access for picture lookups across platforms.
Lens visual tools work on major desktop browsers: Chrome, Firefox, Safari, and Edge. On a computer you can open Google.com and run an image search without extra installs.
Desktop support
Expect broad compatibility on desktop. Each browser supports uploads, URL pastes, and drag‑and‑drop workflows at the site.
Mobile and app tips
On Android, the official app and Chrome give the smoothest path for Lens lookups. Make Google the default in Chrome on your mobile device so long‑press site lookups work from any website.
- Use the app or browser flow if corporate rules block installs.
- Keep the app and browser updated for security and new features.
- Start a lookup on desktop, then re-run it on a phone for a fresh angle or lighting.
Privacy, accuracy, and troubleshooting tips
Knowing what happens behind the scenes helps protect privacy and improve matches.
What happens when you paste links and how history is handled
When you paste a link into the lookup panel, your browser does not record that URL in local history. That keeps the entry off your computer’s timeline.
Note that the service may store submitted URLs and related data to improve products. If privacy is essential, avoid pasting links and upload a file from a local drive instead.
If results look off: crop tighter, try another angle, or upload the original file
Improve accuracy by isolating the subject. A tight crop reduces background noise and yields sharper results.
Capture fresh photos on your device from new angles or better lighting. If you began with a link, uploading the original file often gives the system a higher quality signal.
- Add short descriptive text after upload—brand, material, or model—so the tool narrows results.
- Watch for reflections, blur, or heavy compression; re-save or retake photos when possible.
- Vet websites in results carefully—favor official sources and reputable retailers.
- Keep your app and browser updated for best processing and display.
Explore alternatives and take your next step
Expand your toolkit by testing other services that index pictures differently. Try Bing Visual Search or TinEye when a single engine misses results.
strong, practical next step: upload image files or paste a URL into each service and compare search results. Bing’s camera icon lets you drag, browse, or paste a link. TinEye reports exact matches and counts for tracking reuse.
Keep Google Lens ready on your phone or in the app bar. Tap the Lens camera to snap a photo or pick one and run a quick lookup. On a computer, upload image files or paste URLs for side‑by‑side checks.
Cross‑reference sources, dates, and resolutions. For shopping or verification, run the same photo across engines and use the “find related” options to confirm which page to trust.